
[How-To] Unlock Bootloader, Install Magisk & Root Razer Phone
Steps To Unlock Bootloader and Root Razer Smart Phone: Razer, has launched their very first smart phone in the market which is powered by Android 7.1.1 Nougat. It has been quite a while now since its launch and developers have already started developing mods and hacks for the new smart phone. Out of all the mods and hacks, one thing which every advanced Android user is looking for is to root their Razer Smart Phone. If you are one of those persons then congratulations as you are at the right place. This post has been dedicated to the process of rooting the Razer smart phone.
 However, before you move ahead, we will like to say that this post is for educational purposes and all the download links provided of the respective applications, required for rooting, belong to their developers. We don’t take any responsibility if you accidentally happen to brick your device. Please go ahead with the process if you really know what you are doing.
Contents
Unlock Bootloader & Root Razer Phone | Prerequisites
Please make sure that you have the following things ready and at your disposal before moving ahead with the process:
- First of all, you need to have ADB and Fastboot installed on your Windows PC/ Laptop. Just run the executable by downloading the files from the provided link and you will be greeted by simple on-screen installation instructions.
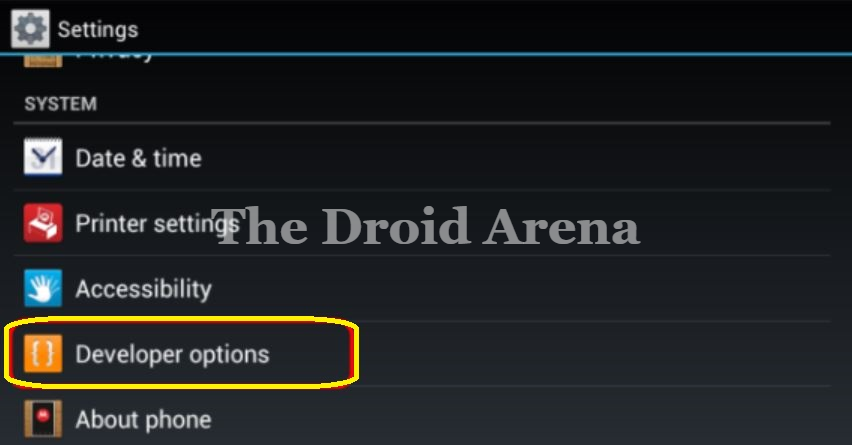
- Apart from this, please make sure that OEM Unlocking and USB Debugging is enabled for your device. For this navigate to Settings -> About Phone and tap on build number 6-7 times to activate the option of ‘Developer Options.’ Inside ‘Developer Options’ you will find the options for turning on OEM Unlocking as well as USB Debugging.
- Also, please make sure that your device is charged to a battery level of at least 70% or above.
Please have the following downloads handy before we share with you the steps to root your Razer Smart Phone:
You can easily root and install custom recovery on the latest Samsung S9 and S9+ with this guide. Read More: [How-To] Root Samsung Galaxy S9 and Samsung Galaxy S9 Plus.
How to Unlock Bootloader on Razer Phone
- Navigate to the folder where ADB and Fastboot is installed on your Windows PC/ Laptop and press Shift + Right click. Thereafter select the option of ‘Open Command Window Here’ from the menu that pops up.
- Please connect your Razer device to your Windows PC/ Laptop via USB Cable.
- Enter the following command to know that your device is properly connected.
- adb devices

- Once you see your device after executing this command, it means your device is properly connected. Please type in the following command thereafter to reboot your device into Fastboot mode.
- adb reboot bootloader
- Once your device has entered into Fastboot mode, following command will help you to be certain about it.
- fastboot -i 0x1532 devices
- Post entering this command if your device is visible then type in the following command to start the process of unlocking bootloader for your device.
- fastboot -i 0x1532 flashing unlock
- Post entering the above command give your confirmation by tapping on ‘Yes’ and your device will reboot once its bootloader is unlocked.
Must Read: How to edit Build.prop file without rooting your device [Tutorial].
How to Root Razer Phone using Magisk on Android Noughat / Oreo
- You must have downloaded the files mentioned above in the downloads section. You require to transfer those files to your Razer device now.
- For the transfer to take place please key in the following commands in the command prompt window.
- adb push boot.img /sdcard
- adb push twrp-installer-3.2.1-0-cheryl.zip /sdcard
- adb push Magisk-v16.0.zip /sdcard
- adb reboot bootloader
- Now you are required to flash install the TWRP recovery on your device by typing in the following command.
- fastboot flash boot twrp-3.2.1-0-cheryl.img
- That’s it TWRP has been successfully installed on to your device. Now make your device enter into recovery mode by switching off your device and rebooting it using the combination ‘Volume Up + Power.’
- Once into recovery mode select ‘Install’ from the TWRP menu and select boot.img file and swipe right to install it.
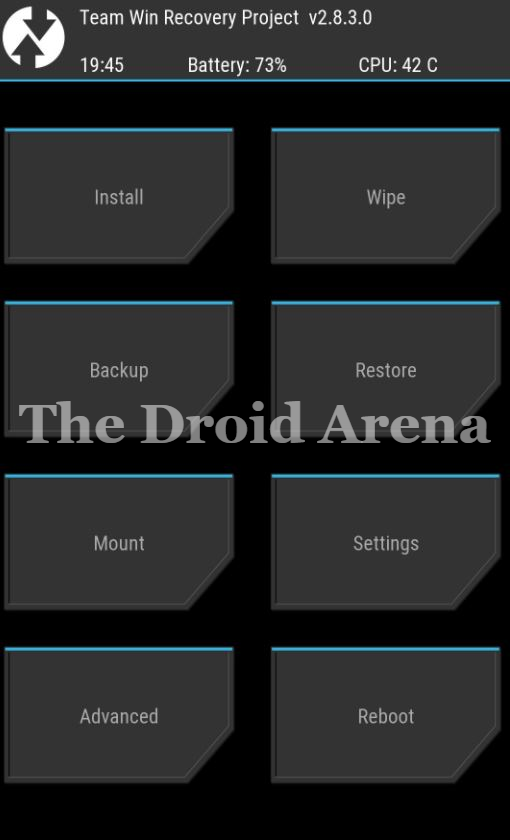
- After this again hit the ‘Install’ option and select TWRP Installer and swipe right to install it.
- Please reboot your device now and once your device has rebooted enter the following command in the command window to re-enter into recovery mode.
- adb reboot recovery
- Now again select the ‘Install’ option and this time select the Magisk ZIP file and swipe right to install it.
- Now you have to install Magisk ZIP file to the second slot of your Razer device as well. You can verify for which slot you have done the installation right now by clicking on Reboot option from TWRP menu. Just select the option of Switch Slots and reboot into recovery mode once again.
- Cool! Now slots are successfully switched. Please install Magisk ZIP in this slot also just like you did above.
- Great! We are done finally! Please reboot your device and finally you will have an unlocked bootloader and Magisk will automatically grant root access to your device.
Do you wish to mod your favourite android applications and games? Then use lucky patcher with this tutorial. Read More: How To Install Lucky Patcher APK on Android [With Root/Without Root].
Method To Check Whether Root Successful Or Not
You can easily check whether your device has been granted root access or not by simply downloading the ‘Root Checker’ application from Google Play Store.
So we have reached to the end of this post now. In case you have any doubts regarding the process please drop the same in comments section below. Also, if you get stuck anywhere during the process please let us know by mentioning it in comments section below.
You may like the following posts:
- Download and Install Lineage OS ROM for Redmi Note 5/Redmi Note 5 PRO.
- Install Custom Themes Using Substratum on Android Device Without Root.