
Install and Flash Magisk using Custom Recovery on your Android Device
Android is the leading and now became the superlative operating system till date. People with Android devices are always in a search of customization. As an open source operating system users can easily customize their Android device through rooting. In the initial days of Android, people required to unlock the Bootloader to root the device. They required flashing the custom recovery to install the SuperSU. For some time people followed this process but the same was very time to consume and lengthy.
Now, you have Magisk which is the best root management application of its kind. It is the best alternative to Chainfire SuperSu root management. Magisk is coded by topjohnwu who is XDA developer. This root manager is consist of lots of features which makes it better than other including Chainfire’s SuperSu, King Root, and many others. Once you root your device, you could easily install Xposed Framework and Xposed Modules
Contents
Features of Magisk root manager.
- Hide root permission with Magisk Hide: Hiding root permission from the specific app is not possible with any other root But, Magisk enables the user to hide root permission from the app including banking, gaming, and many other applications. You just have to open Magisk, swipe right and tap on Magisk hide.
- Integrated modules: Magisk modules are same as a module of the Xposed You can easily customize your Android device by using such modules. You can download these modules from the Magisk application.
- Easy to use: There is no need for extra technical skill to use this app. It is very easy to install this application. Unlike another rooting app, uninstalling Magisk is easy. Simply flash uninstall zip file of Magisk through custom recovery.
- Superuser: the Magisk superuser is used to grant and deny root permission for any application. It will only work if your Android device is rooted.
On the internet, there are numerous developers working on different custom recovery projects. Custom recovery is designed for Android mobile devices. One custom recovery will be compatible with one range of devices while others will be compatible with different devices. So you have to find the one that is compatible with your Android device. Before you begin, you have to install a custom recovery on your device. For instance here, we are using TWRP (Team win recovery project) to install and Flash Magisk root manager. So, how to install TWRP on your device?
Follow the step by step guide to install a custom recovery on your device.
1: First of all, you have to download TWRP or any other custom recovery for your device from the official website.
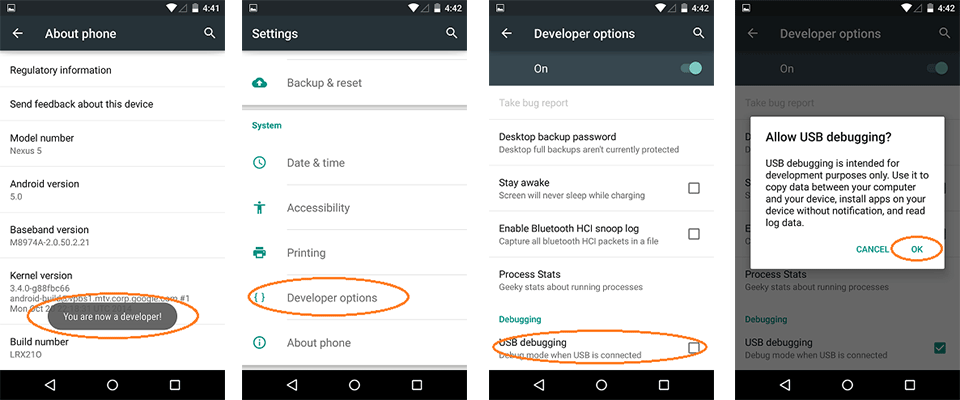
2: Now, you have to enable “USB debugging” under “Developer option”. If developer option is not visible then, go to “Settings” – “About Phone” – Tap 5 times on “Build Number”.
3: Once the above process completed, you have to download ADB minimal and Fastboot and device drivers on your computer.
4: Now, place the custom recovery file (.img file) on “ADB minimum and Fastboot” folder.
5: Here, you have to open the folder in command prompt. You can do it by holding the “Shift” button and press right-click anywhere on the folder screen.
6: You have to connect your Android device to PC via USB cable. Type “adb reboot bootloader” in command prompt and hit on “Enter” button.
7: Now, it will ask for permission to “Allow USB debugging” simply hit on “OK” button to grant.
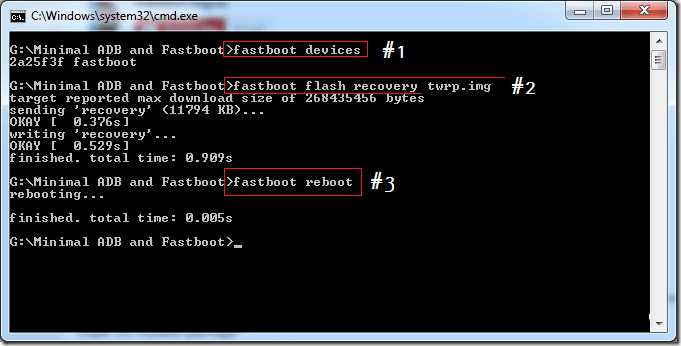
8: Your device will automatically reboot to bootloader mode. Now enter the following command on command prompt “Fastboot flash recovery twrp-2.8.x.x-xxx.img” and hit enter.
9: Once the custom recovery successfully flashed, type “fastboot reboot” to reboot your device.
Step by step guide to install or flash Magisk using custom recovery
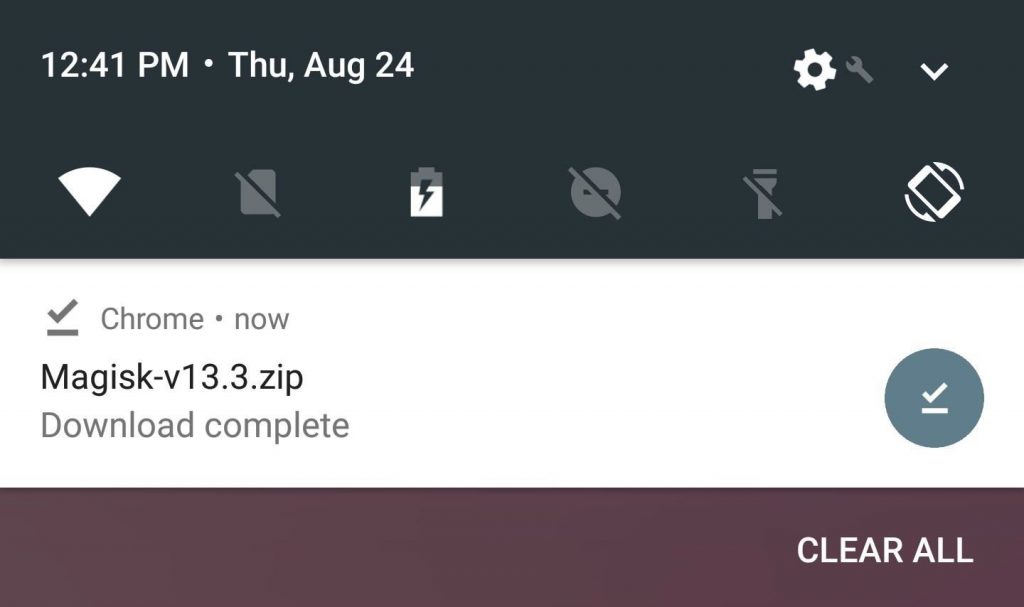
1: Initially, you have to download Magisk.zip file on your Android device. This is a flashable zip file that is flash through custom recovery.
2: Now, you have to go to the custom recovery of your mobile phone. If you don’t know how to boot your phone in recovery mode then, follow these key combinations.
Power off your mobile phone, hold volume up and power button simultaneously. These key combinations vary as per device to device.
3: Once the recovery mode will open, click on install button and search downloaded Magisk.zip file.
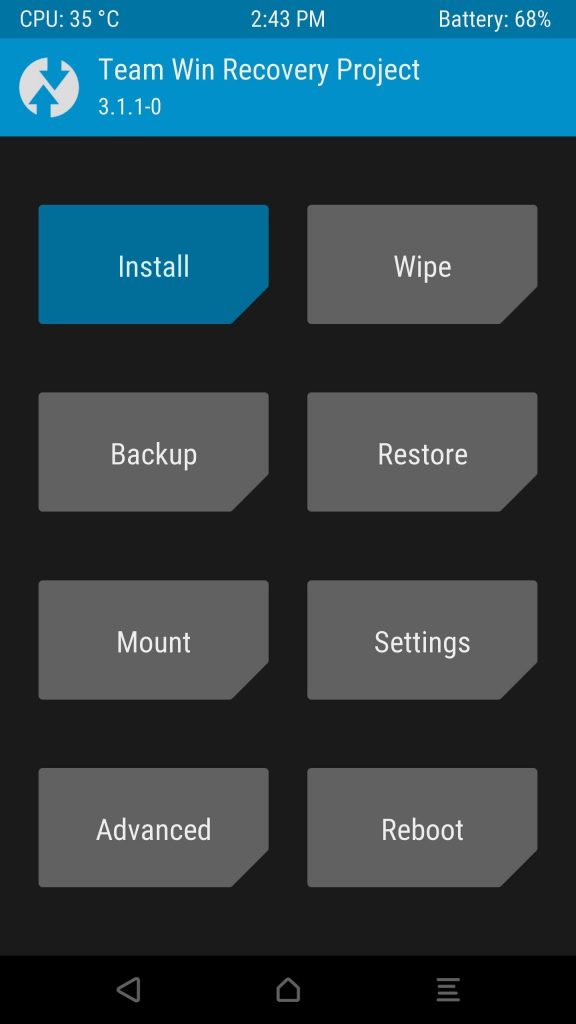
4: Tap on Magisk.zip to select and swipe to flash or install.


5: Now, tap on “wipe dalvik cache” and then tap “reboot” button.
6: Once the above process completed, download the Magisk apk file from the web and install it. You have to enable the unknown source to install Magisk apk file.

7: Go to app drawer and tap on Magisk manager to open. Hit on “Tap to start SafetyNet check” to ensure that your device now gets root access.
Read More:
- [How-To] Flash SuperSU using TWRP recovery and Root any Android device
- How To Convert YouTube Videos to WAV? Top YouTube to WAV Converters