
How To Root and Install Custom Recovery on Redmi Note 4/4X [Tutorial]
Xiaomi, since it has launched its Redmi series of flagship phones has captured a major portion of the smartphone market. The major reason for this is that the smartphones from Xiaomi are both high on features and budget friendly. Xiaomi Redmi Note 4/4X , launched in February 2017, was the top selling smartphone of 2017. Powered by 2 GHz octa-core Qualcomm Snapdragon 625 Processor the Redmi Note 4 Qualcomm packs a lot of raw strength. 3 GB RAM makes it possible to do multi-tasking on the Redmi Note 4X Snapdragon smoothly and seamlessly.
Coming to the screen of Redmi Note 4/4X, the smartphone comes with a 5.50 inches touch screen display with an amazing resolution of 1080 by 1920 pixels with a PPI of a staggering 403. The Redmi series of smartphones never fails the photogenic you by providing good quality cameras. The same holds for the Redmi Note 4 Qualcomm as it comes with a 13 megapixel camera on the back with a 5 megapixel camera on the front so that you can always have that perfect selfie.
Running on Android 6.0, the phone’s 4100 mAh battery can easily last for an entire day. The surprising thing about Redmi Note 4X Snapdragon is that all these amazing features are coming in a device which just weighs 165 grams. It’s a dual SIM (GSM + GSM) device with a Micro-SIM & Nano-SIM support. If you want to know more then let me tell you that this amazing piece of tech has USB OTG support as well. We bring this post for the advanced Android users who are looking to root their Xiaomi Redmi Note 4/4X Device. But, before moving on to the process to root the device please make sure that your Redmi Note 4 Qualcomm device is covering the following prerequisites.
The following Guide is for Redmi Note 4 and Redmi Note 4x [Qualcomm Snapdragon] Variants
Contents
Root & Install TWRP Custom Recovery on Redmi Note 4 | Requirements
- Download & Install Minimal ADB and Fastboot Tool [Given in TWRP Steps]
- Download ADB Driver Zip File [Given in TWRP Steps]
- The Bootloader of your device must be Unlocked.
- Install Custom Recovery TWRP for Xiaomi Redmi 4/4X on your device
- Download Flashable Super SU File.
- Download Lazy Flasher File.
Unlock Bootloader on Redmi Note 4 [Steps]
- Installing ADB & Fastboot on your Windows PC/Laptop is pretty simple. Just run the executable which you have downloaded in above prerequisites and you will be greeted by simple on-screen installation instructions which can be easily followed.
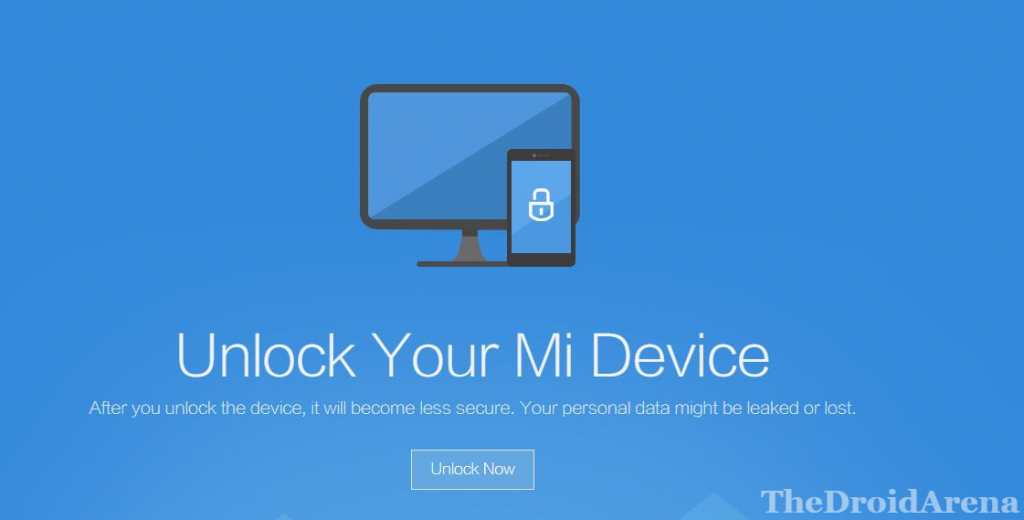
- Coming to the 2nd prerequisite; if the bootloader of your Redmi Note 4 Qualcomm device is not unlocked then you need to get it done. As a first, you need to acquire the permission to unlock the bootloader. For that, please navigate to the URL: http://en.miui.com/unlock/ and click the ‘Unlock’ button on the web page that follows.
- Login with your MI Account and put in your name, mobile number as well as the reason behind unlocking the bootloader of your Redmi Note 4/4X Device. Hit ‘Apply Now‘ and wait for 2-3 days to receive the unlock permission.
- Post receipt of the Unlock Permission please login to your MI Account in your Redmi Note 4X Snapdragon device and navigate to Settings -> MIUI Version. Tap about 7 times this option and ‘Developer Options’ will get activated. Navigate to the option and toggle on ‘OEM Unlocking’ as well as ‘USB Debugging.’
- Now navigate back to Settings -> MI Unlock Status & hit on ‘Add Account & Device.’
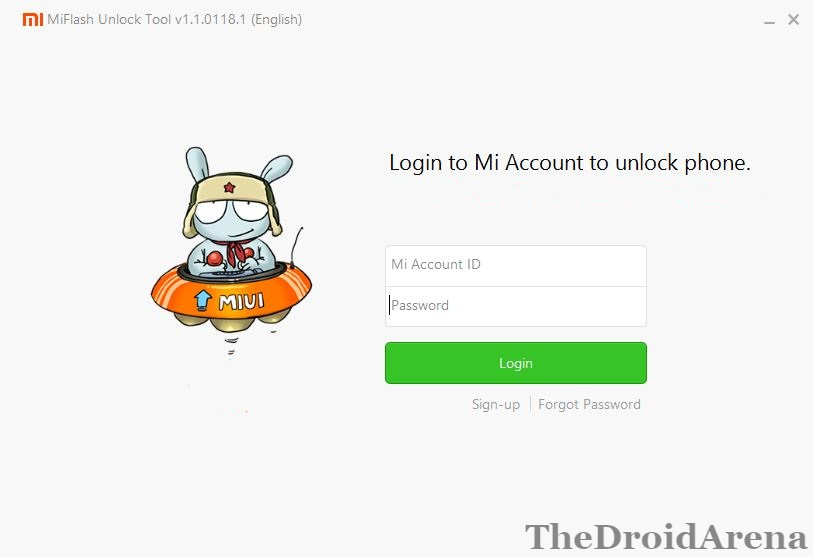
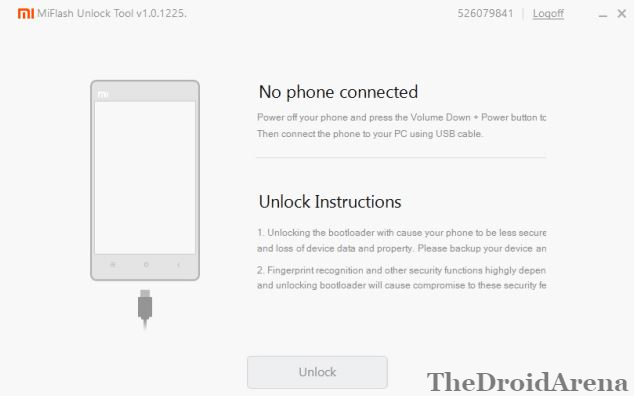
- Cool! Please download the MI Flash Unlock Tool and after extracting the contents of the package run the executable. Enter your MI Credentials here. Please use the same credentials which you used for applying to unlock your Redmi Note 4 Qualcomm device.
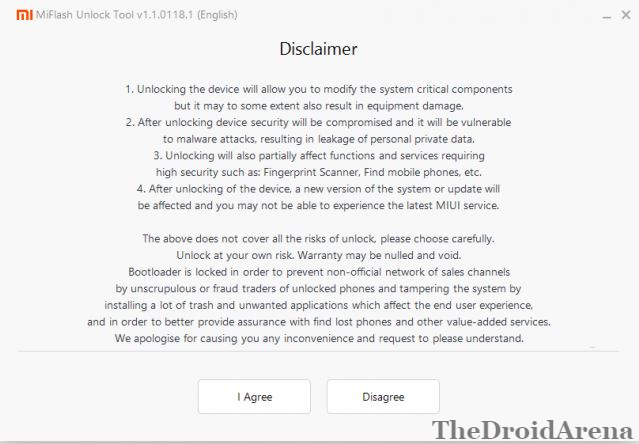
- Accept the Disclaimer.
- Great! Just connect your Redmi Note 4/4X to your Windows PC/Laptop & boot it into Fastboot mode by using the key combination of Volume Down + Power. Once the connection between Redmi Note 4/4X and the PC/Laptop is established the ‘Unlock’ button will get activated on the Flash Tool. Tap on it and the unlocking process will start.
Install TWRP Custom Recovery on Redmi Note 4
- In the above section you have already installed ADB & Fastboot on your Windows PC/ Laptop plus unlocked the bootloader of your Redmi Note 4/4X Device.
- Now, please make sure that you have got TWRP Custom Recovery installed on your device as without it the tutorial won’t work. Please follow the guide provided in the link below
Install TWRP Custom Recovery Redmi Note 4
- Don’t forget to perform a Dalvik Cache Wipe in recovery mode before/ after flashing the Super SU package. [Briefed in the Steps]
- Also, the recommended charging level of your Redmi Note 4X Snapdragon device must be at least 80-85%. If not, then kindly charge your device before moving on to the rooting process.
Must Read: How to Enable Face Unlock Feature on Redmi Note 4, Redmi 4/4X, and Mi Max Prime.
Root Redmi Note 4 Using Super SU & Lazy Flasher [Steps]
- Keeping your device connected to your Windows PC/Laptop please transfer the Super SU & the Lazy Flasher file to the internal memory of your device.
- Thereafter, reboot your Redmi Note 4/4X Snapdragon into recovery mode by using the key combination of Volume Up + Power.
- The TWRP Recovery Screen will come up. Using the ‘Wipe‘ option please Clear Dalvik Cache.

- Next, please hit the option of ‘Install‘ and select the ‘Super SU File.’ Swipe for giving confirmation to the installation process.
- Again, using the ‘Wipe‘ option clear Dalvik Cache. Don’t reboot your device yet. Please go back to the main screen and hit the option of ‘Install‘ and select the ‘Lazy Flasher‘ File. Swipe to confirm the installation.
- Now, you can reboot your Redmi Note 4/4x device.
- Congratulations! You have successfully rooted your Redmi Note 4/4X Device.
- If you want to check whether your device has been rooted or not; please download the Root Checker application which is available to be directly downloaded from Google Play Store.
This was the process for rooting your Redmi Note 4/4X Device. Please note that you must be knowing what you are doing. We have provided the steps and recommend to follow on your own risk. If you happen to brick your device or encounter any hardware of software failure, due to a folly on your part, we cannot be held responsible. Please feel free to ask any questions by putting them down in comments section below.
You may like to read the following posts:
- Hide Root Access from Apps That Detect Root on Android [GUIDE].
- Root Redmi 5 Pro and Install TWRP Custom Recovery [Tutorial].