
How To Install OxygenOS 9.0 on Xiaomi Poco F1 [Guide]
Launched in August, 2018, the POCO F1 from Xiaomi features a 6.18 inches touch screen and runs on Android 8.1 (Oreo) out-of-the-box; MIUI 11. The mobile device is powered by a Qualcomm Snapdragon 845 Octa-Core processor and comes in three variants viz 64 GB 6 GB RAM, 128 GB 6 GB RAM, and 256 GB 8 GB RAM. If you have used a Xiaomi mobile device, you must be aware that MIUI is quite a big ass skin over Android and you have to deal with a sizable quantity of bloat as well. It will be really good if you could simply install OxygenOS (based on Android 9.0 Pie) on POCO F1.

Install OxygenOS 9.0 on Xiaomi Poco F1
Check How To Get 4K@ 60 FPS Video Recording on Xiaomi POCO F1, Mi 8 & Mi 8 Pro.
The benefit of installing OxygenOS on Xiaomi POCO F1 are numerous. Primary benefits being that finally you will get rid of all that bloatware and there will be a considerable improvement in the performance of your mobile device. Good news is that a group of developers thought the same and ported OxygenOS 9.0 to POCO F1. In this post, we are going to share the steps for the same with you. So, let us begin!
Contents
OxygenOS 9.0 on POCO F1 – Prerequisites
Before we start with the process, you must take care of certain essential prerequisites that are outlined below.
- The bootloader of your Xiaomi POCO F1 must be unlocked. You can refer the steps to unlock the bootloader of a Xiaomi device from here.
- Please download any one of the OxygenOS ROM from below.
- Please download TWRP Recovery for POCO F1 from here.
- You need to have ADB software installed on your PC. You can download the same from here.
- Make sure the TWRP Recovery ZIP file is present in the same folder where you have installed ADB.
- Make sure you take a complete backup of all the essential data present on your mobile device.
Steps to Install OxygenOS 9.0 on Xiaomi POCO F1
- Shut down your mobile device and power it on in Fastboot mode by long pressing Power and Volume Down buttons together.
- Please connect POCO F1 to your PC and go to the folder where you have kept the TWRP Recovery ZIP File.
- Do a Shift+Right-Click and from the pop-up menu choose the option ‘Open Power Shell Window Here‘ to launch the command prompt.
- Please type ‘fastboot devices‘ in the command prompt to check whether your mobile device is getting detected by the system.
- If successfully detected, please execute the command ‘fastboot flash recovery twrp_filename.img’ to install the TWRP Recovery on your POCO F1 device.
- Now, again shut down your mobile device and long press Power and Volume Up buttons together to boot your device into recovery mode.
- Please slide towards the right to allow modifications when asked for the same.
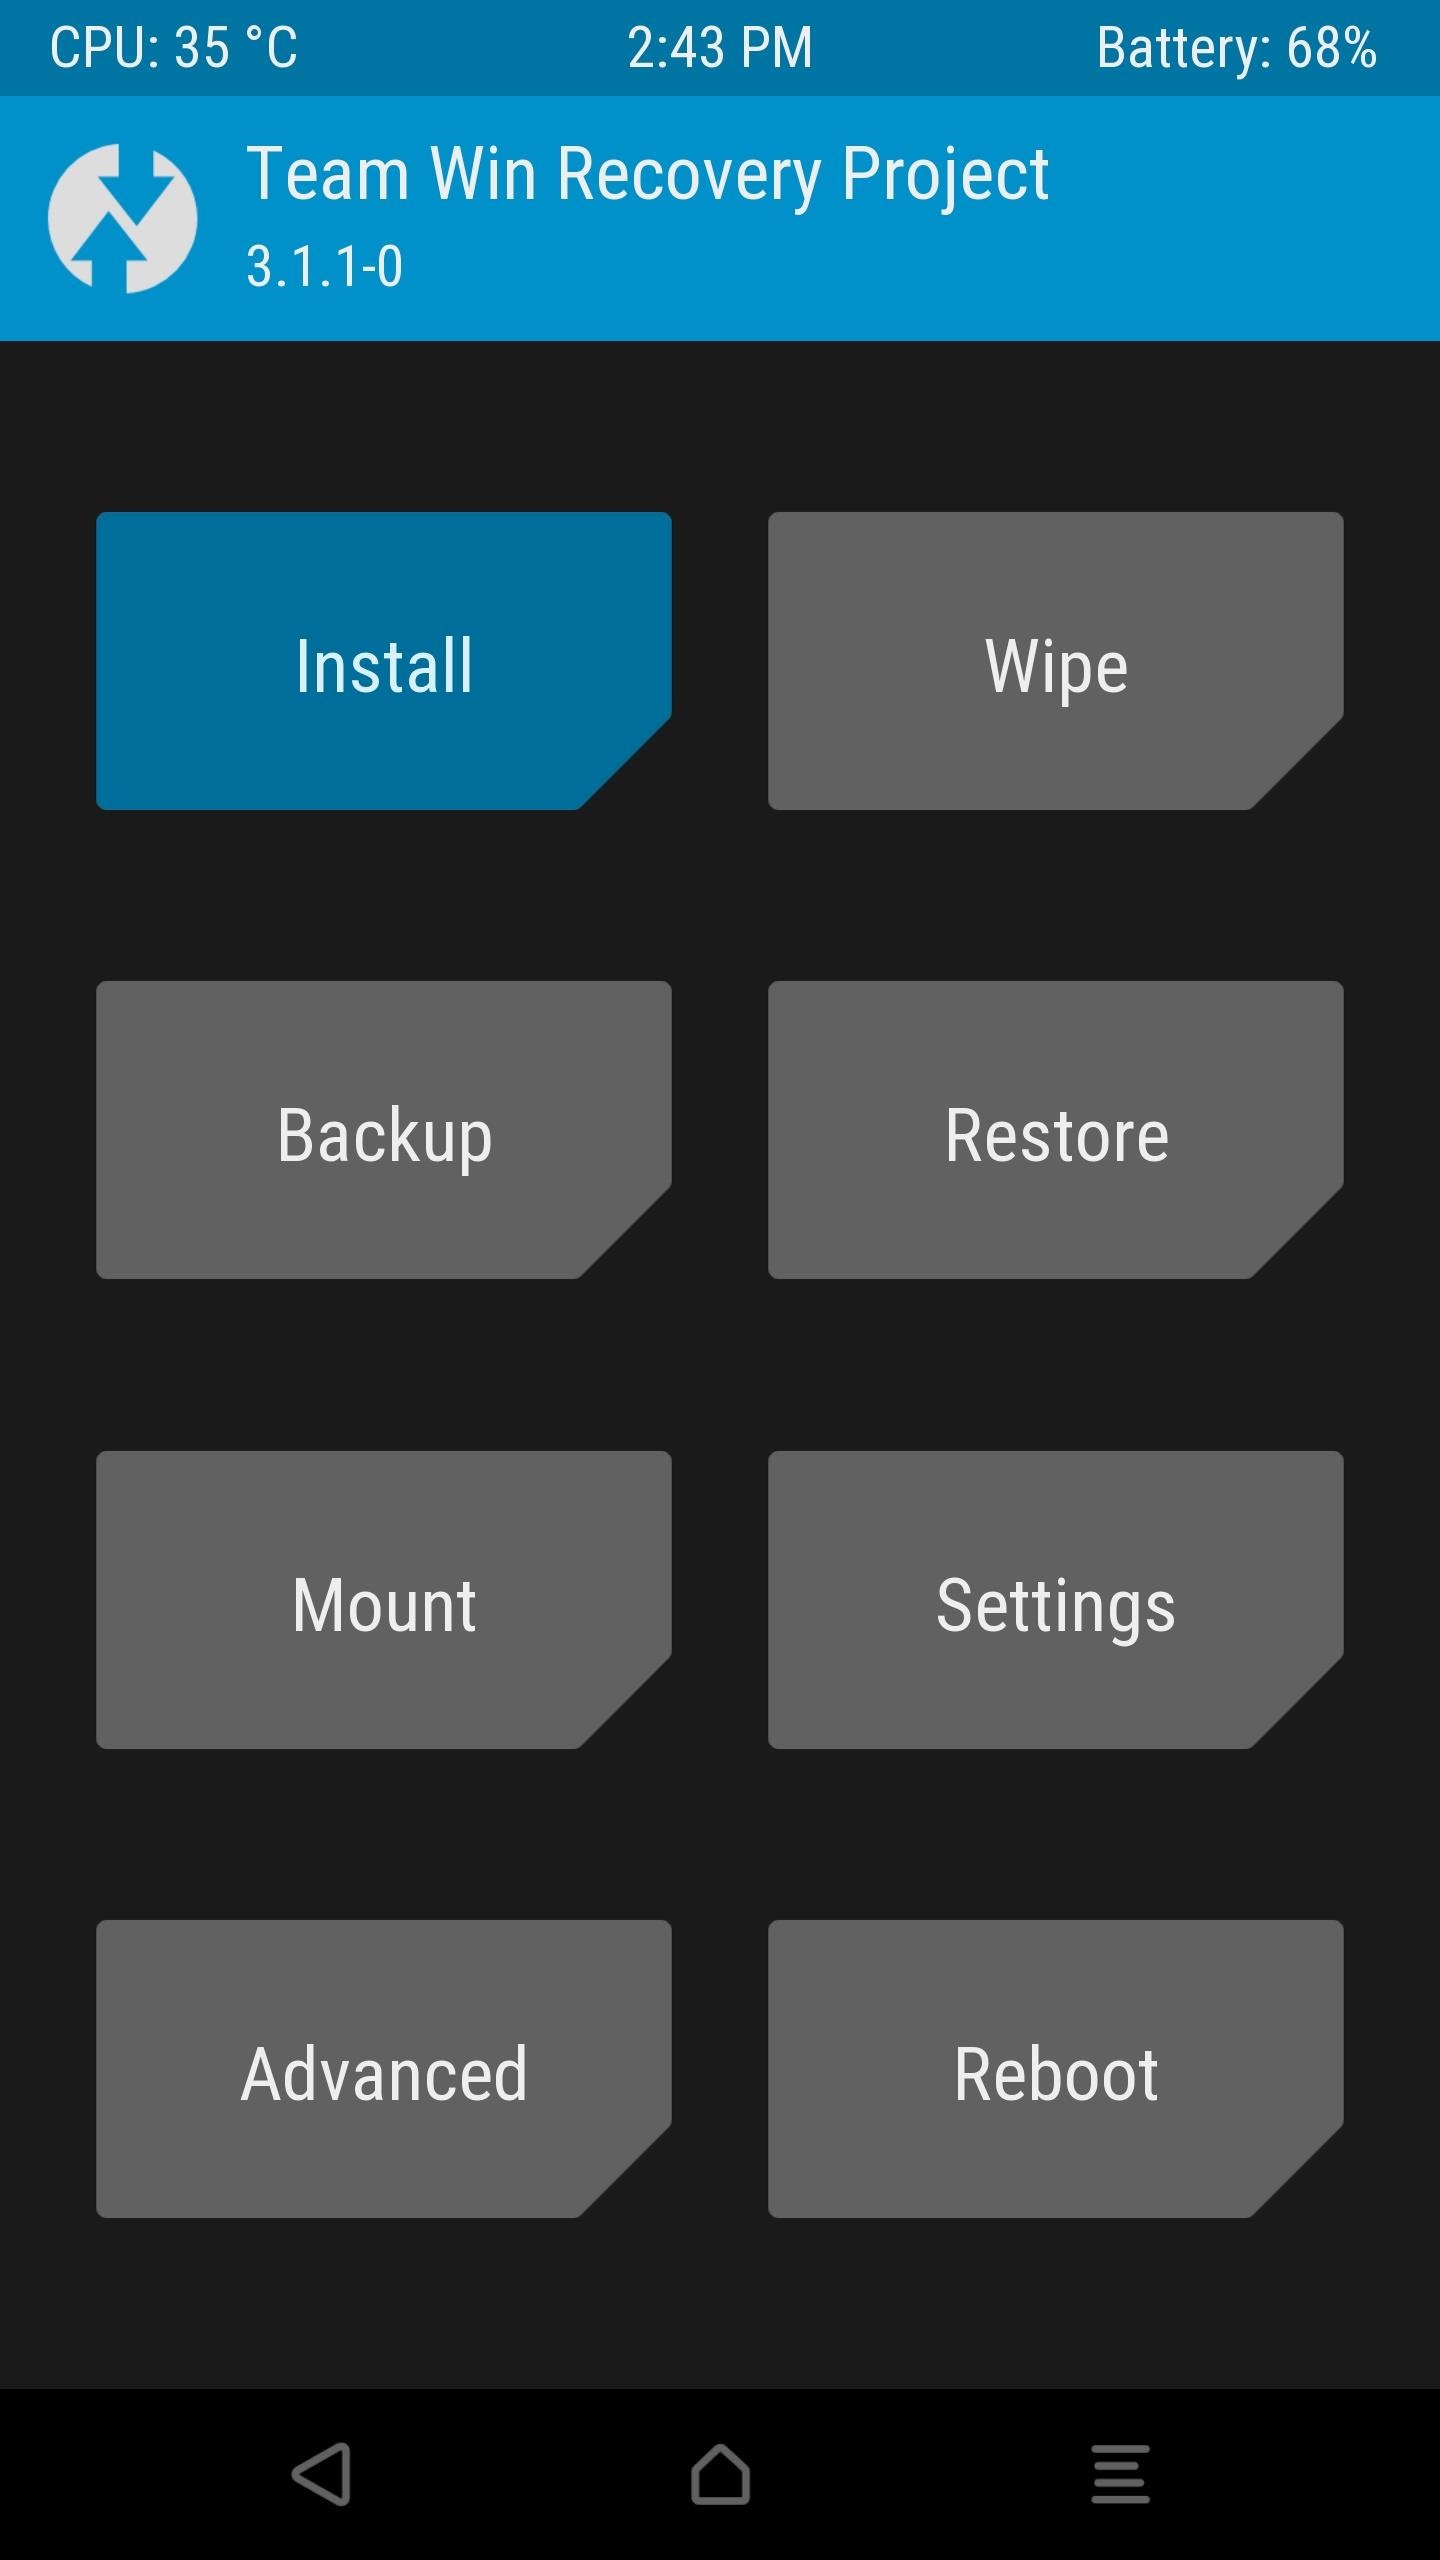
- The TWRP Recovery menu will come up. Tap on ‘Wipe‘ and do a complete wipe including system, data, cache, dalvik.

Tap Wipe from TWRP menu
- To avoid any issues, we recommend doing a factory reset as well. However, this is optional.
- Now, go back to the TWRP Recovery menu and tap on the ‘Install‘ option. Browse to the location where you have kept the ROM file on your mobile device.
- Select the ROM file and swipe right to commence the flashing process. Please note that Google Apps are included in the ROM. Hence, you needn’t flash the same as a separate step.
- Please note that you require flashing a Vendor Patch as well.
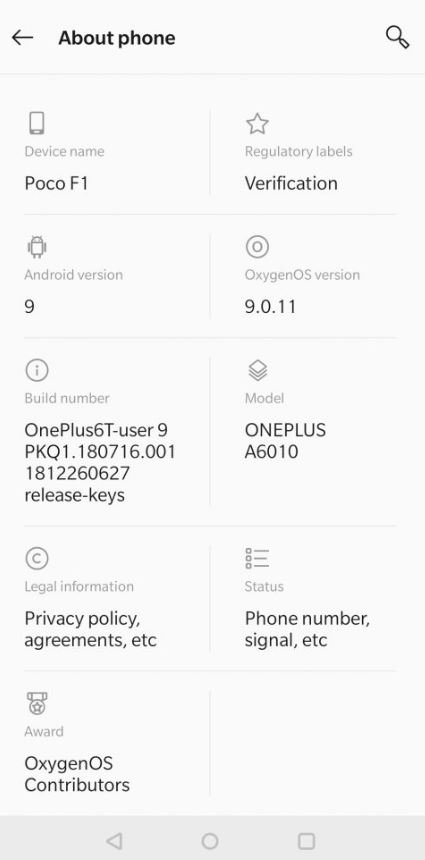
- Tap on Reboot > System and within 10 minutes or so, your Xiaomi POCO F1 will reboot into Oxygen OS. Check out the following screenshots from POCO F1 upon rebooting into Oxygen OS.


Check how to Install Google Camera Port on Xiaomi POCO F1 [No Root].
Conclusion – Download OxygenOS 9.0 on Poco F1
Congrats! You have successfully installed OxygenOS 9.0 on your Xiaomi POCO F1. If you face any issues while following the process, please let us know via the comments section provided below. We will look into the matter and get back to you with a working solution.
Check the following interesting posts as well:
- Install Lineage OS 16 (Android 9 Pie) on Xiaomi POCO F1.
- Root Xiaomi POCO F1 and Install TWRP Recovery [Working Guide].