
Download Google Camera 6.2 for Redmi Note 8 & 8 Pro
Available from September 2019, the Redmi Note 8 and Redmi Note 8 Pro by Xiaomi have taken the smartphone market by storm. The spotlight, this time, is on the amazing Quad Camera setup of both the smartphones. The Redmi Note 8 features a 48 MP + 8 MP + 2 MP + 2 MP quad camera setup while the Redmi Note 8 Pro has gone a notch higher by featuring a 64 MP + 8 MP + 2 MP + 2 MP quad camera setup. However, if you wish, you can further raise the performance levels of the camera setup of Note 8 and Note 8 Pro. This is possible by installing Google Camera GCam 6.2 on both smartphones.
Download Google Camera 6.2 for Redmi Note 8 & 8 Pro
Check how to Download Google Camera 6.2 for Nokia 7.2.
Since Camera2API is enabled by default, the Google Pixel camera app is working fine on both Redmi Note 8 and Redmi Note 8 Pro. By installing the GCam 6.2, you can elevate the camera output several notches higher and eliminate the shortcomings present in the pictures taken from these two fully-loaded smartphones. In this post, we are going to share with you the detailed steps on how to install Google Camera 6.2 on Redmi Note 8 and Redmi Note 8 Pro.
Contents
GCam on Redmi Note 8 | Download Links:
As mentioned above, the Camera2API is enabled by default on the Redmi Note 8, making it simple to install the GCam application on the smartphone. Following are the download links.
- Download Google Camera for Redmi Note 8 (GoogleCameraPe_6.2.030.244457635-fix.apk) [Recommended].
- Download GCam for Redmi Note 8 (MGC_6.1.021_Arnova_xcam_mi9_v8.apk).
Please note that the latest GCam 7.0 gives you a chance to explore astrophotography mode as well.
Install Google Camera on Redmi Note 8 [STEPS]
- You have already downloaded the APK file from the links provided above.
- Next, please navigate to Settings -> Security and toggle ON the option of Unknown Sources.
- Now, please navigate to the download location of the GCam APK file and tap on the APK to initiate the installation process.
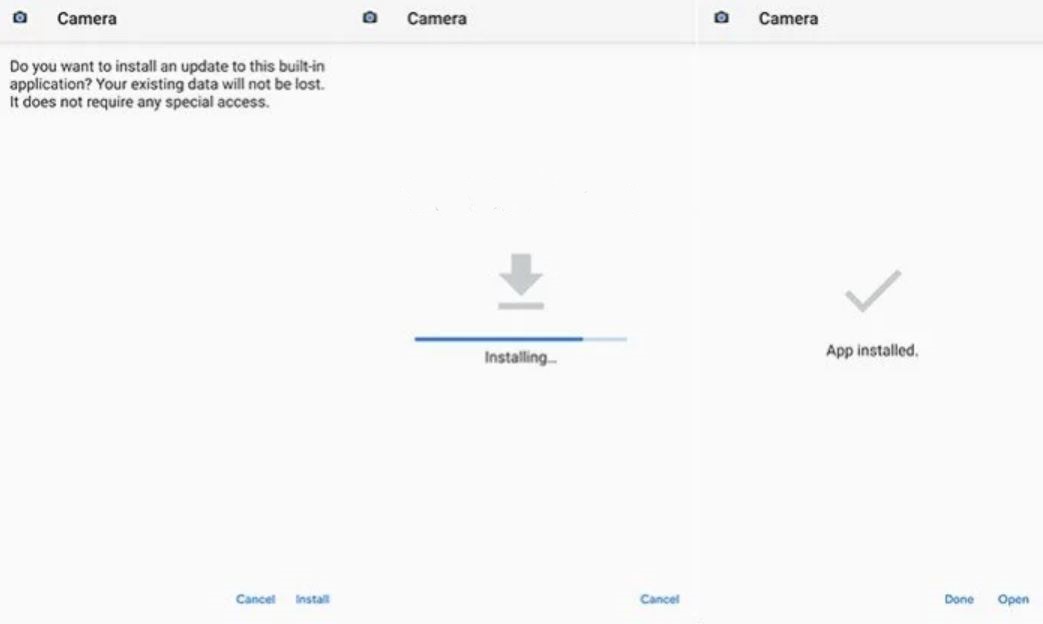
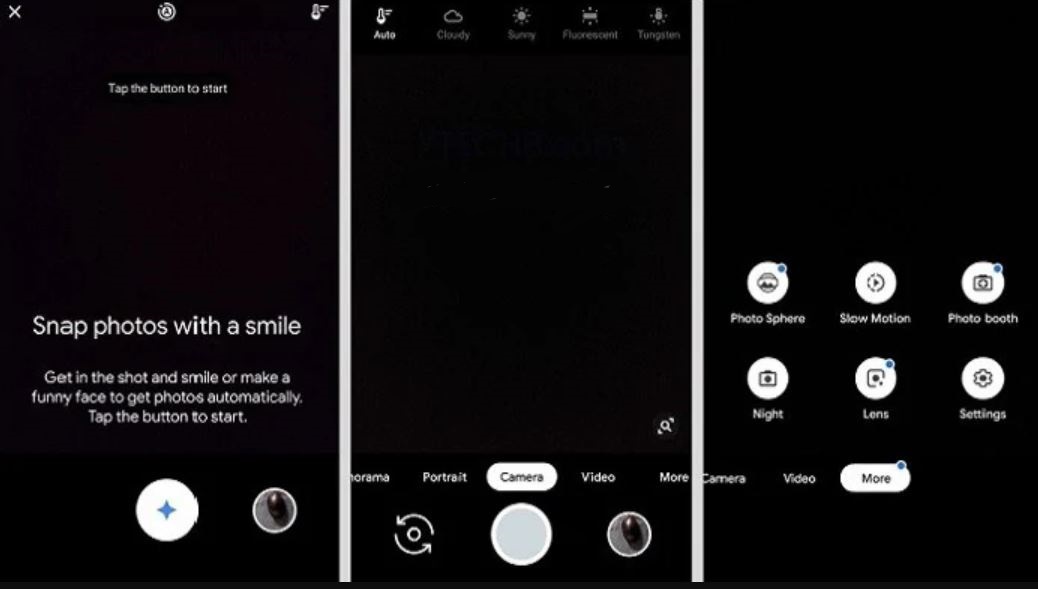
- After the successful installation, please launch the application and give the required permissions and set up the recommended settings that are detailed below for your convenience.
- That’s it! You are all set to capture picture-perfect photographs from your Redmi Note 8 via Google Camera.
GCam for Redmi Note 8 – Recommended Settings
For GoogleCameraPe_6.2.030.244457635-fix.apk
- Please launch the GCam application and navigate to Settings -> Mod Settings.
- In MOD Settings, please toggle OFF HDR+ and increase the Auto White Balance to Pixel 2 or Pixel 3.
- Close the GCam app and launch it again.
- This time, please navigate to Settings -> Advanced and perform the following.
-
Base -> Config -> Pixel2018 ZslR HDR+.
-
Base -> set Front Camera -> Nexus 6P.
-
Libs > Xlib 2.3.
-
For MGC_6.1.021_Arnova_xcam_mi9_v8.apk
- Please download the Config Settings from here.
- Post successful download, please extract the file in the Root folder. You can utilize ES File Explorer for the purpose.
- In the Root folder, create a new folder and rename the same to GCam. Inside this newly created GCam folder, please create a Configs folder.
- In this Configs folder, you require copying the config file that you have downloaded from the link provided above.
- Launch the GCam app now and tap on the black blank area present next to the Shutter button.
- Choose the XML file that you have copied in the Configs folder above and hit the ‘Restore‘ button.
- That’s it! Please launch the Google Camera application again.
Going forward, let us move to Redmi Note 8 Pro now.
Check how to download Google Camera With Night Sight on Google Pixel 3/ Pixel 2 & Pixel.
GCam for Redmi Note 8 Pro | Download Links
- Download GCam for Redmi Note 8 Pro (MGC_6.1.021_Rn8ProEdition_1.0_Wyroczen_STABLE.apk) [Recommended].
- Download Google Camera for Redmi Note 8 Pro (MGC_6.1.021_xcam6_RN8P_Wyroczen_TEST3.apk) [without Night Sight].
- Download Google Camera 7.2 for Redmi Note 8 Pro (GoogleCamera_7.2.011_RN8Pro_TEST2.apk).
Once you have downloaded the APK file from any of the above-provided links, you require installing the same on your Redmi Note 8 Pro. As far as the installation steps are concerned, you can follow the same that are mentioned above for Redmi Note 8. Post successful installation, based on the APK file that you have installed, you need to apply the following settings.
GCam for Redmi Note 8 Pro | Recommended Settings
For MGC_6.1.021_Rn8ProEdition_1.0_Wyroczen_STABLE.apk
- Please download the Config Settings from here.
- Post successful download, please extract the file in the Root folder. You can utilize ES File Explorer for the purpose.
- In the Root folder, create a new folder and rename the same to GCam. Inside this newly created GCam folder, please create a Configs folder.
- In this Configs folder, you require copying the config file that you have downloaded from the link provided above.
- Launch the GCam app now and tap on the black blank area present next to the Shutter button.
- Choose the XML file that you have copied in the Configs folder above and hit the ‘Restore‘ button.
- That’s it! Please launch the Google Camera application again.
For MGC_6.1.021_xcam6_RN8P_Wyroczen_TEST3.apk
- Please launch the GCam application and navigate to Settings -> Advanced.
- Fix -> RAW format -> RAW_sensor.
- Please set the final JPEG quality to 100%.
For GCam 7.2 (GoogleCamera_7.2.011_RN8Pro_TEST2.apk)
- Please launch the GCam application and navigate to Settings -> Advanced.
- Enable the HDR+ Control.
- Enable RAW_JPEG Control.
- Navigate to Settings -> Change Saturation Levels
-
Back Camera Highlight -> 1.6
-
Back Camera Shadow -> 1.8
-
Front Camera Highlight -> 1.7
-
Front Camera Shadow -> 1.6
-
- Also, please set up the exposure compensation to +0,2.
Final Words – Download Google Camera on Redmi Note 8/8 Pro
Make sure that prior to utilizing the Google Camera on your Redmi Note 8 and Redmi Note 8 Pro, you have enabled HDR+. So, this was all regarding GCam installation on Redmi Note 8/8 Pro. If you happen to face any issues during the installation or have any questions to ask, please let us know about the same in the comments section provided below.
Please check the following posts as well:
- Download Google Camera APK for Samsung Galaxy Note 10.
- Download Pixel 3 Google Camera Port for OnePlus 6/6T (GUIDE).
One thought on “Download Google Camera 6.2 for Redmi Note 8 & 8 Pro”